This post may contain affiliate links, which means I’ll receive a commission if you purchase through my link at no extra cost to you. Please read the full disclosure here.
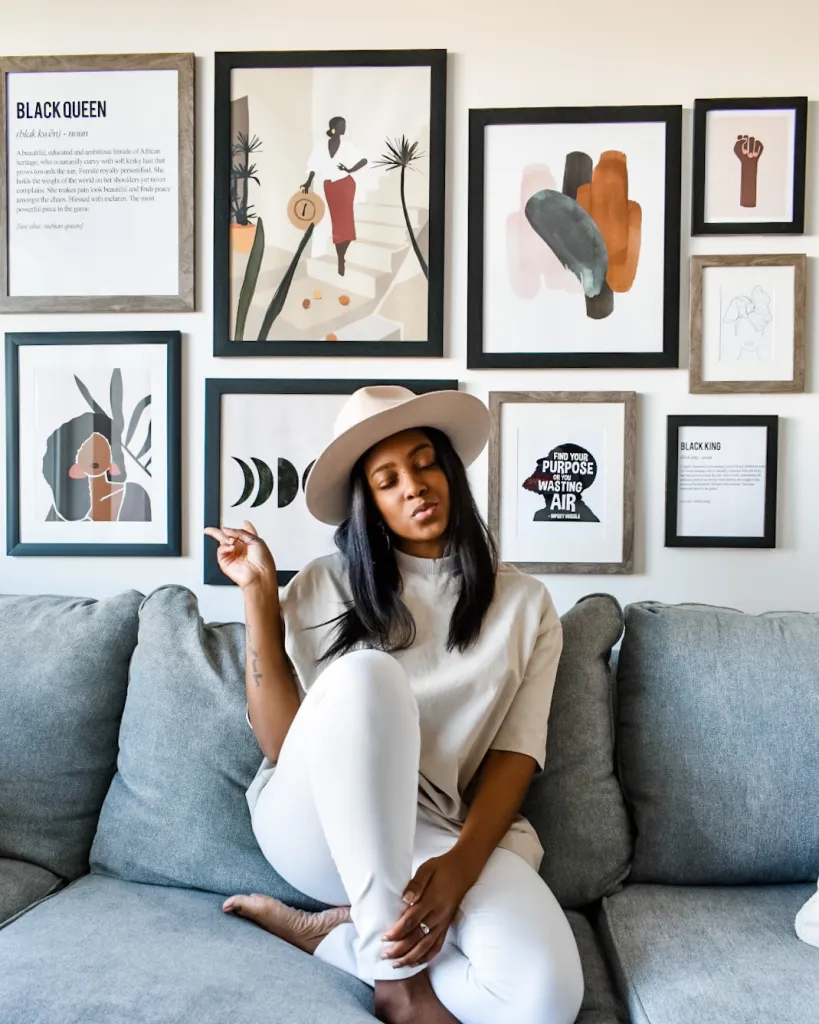
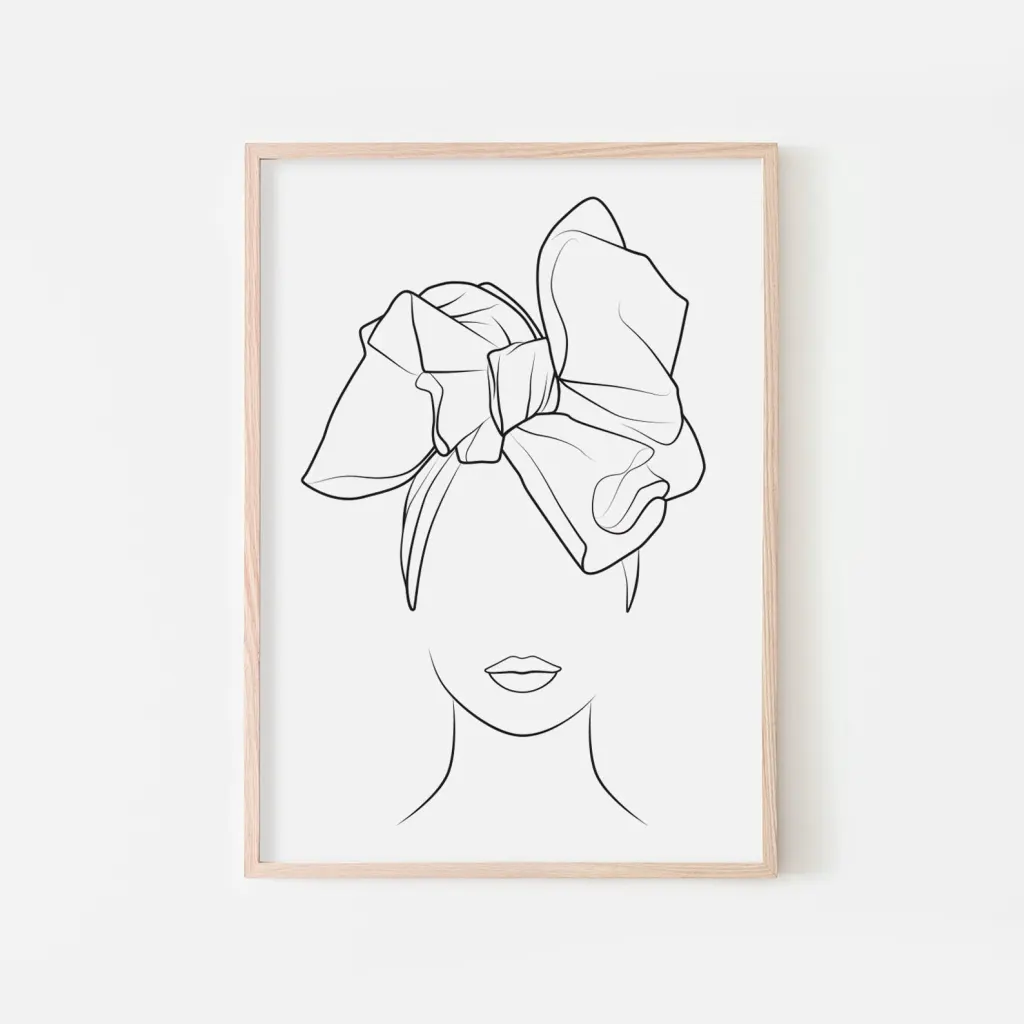
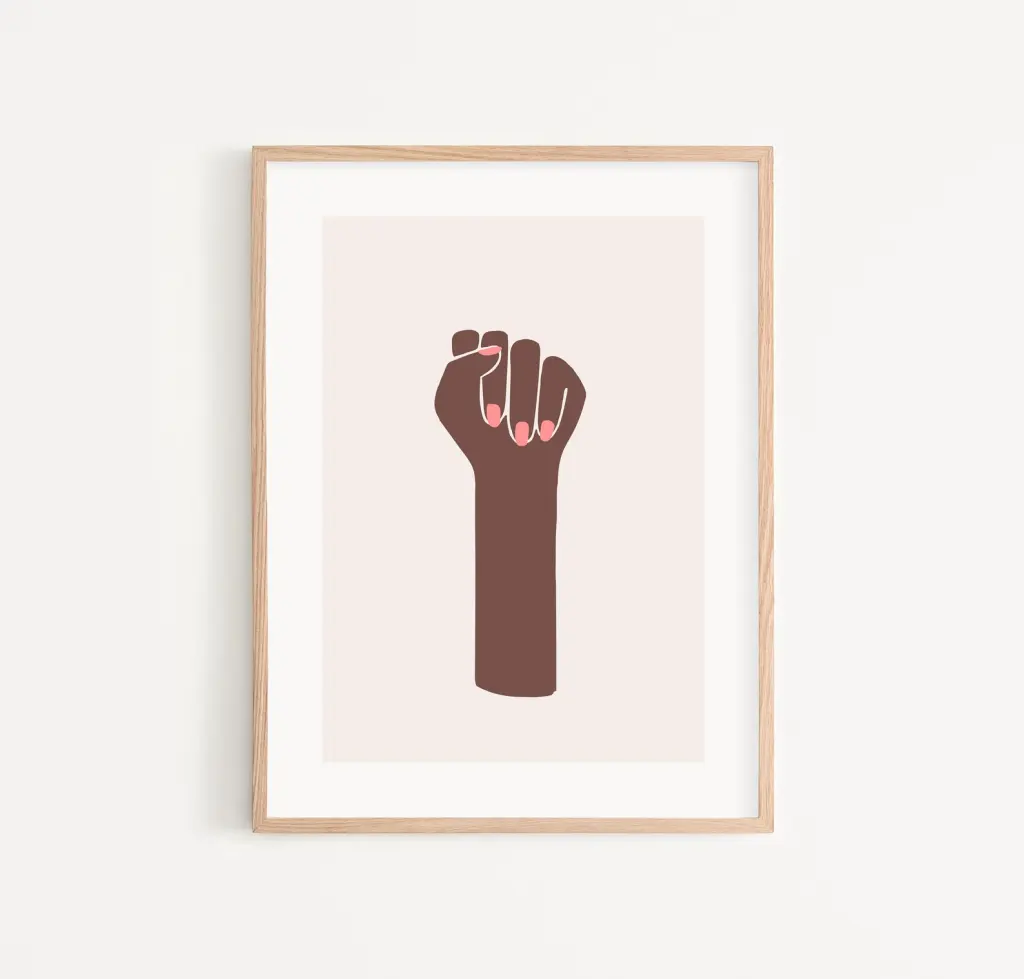
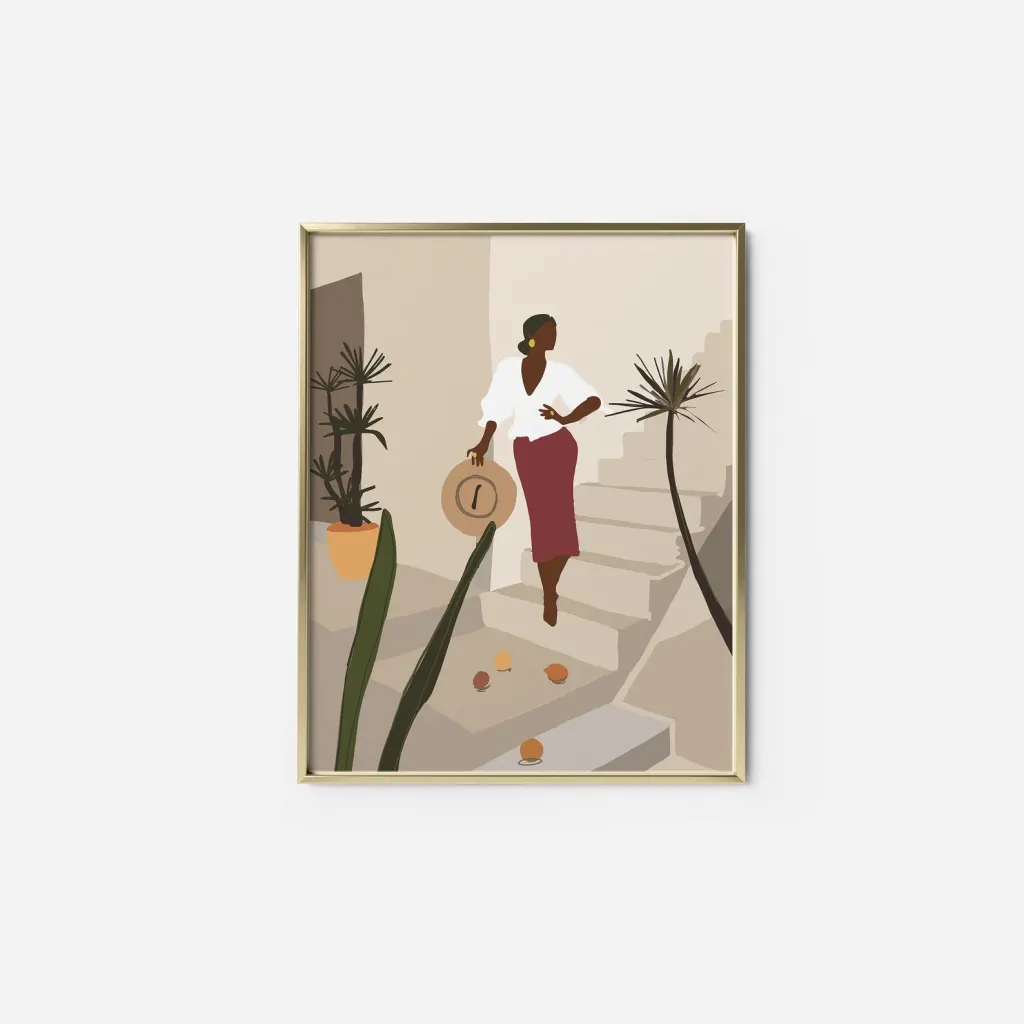
After finally getting settled in my new apartment, I decided it was time to start decorating. I moved into my apartment at the end of October; due to the pandemic, my couch was back-ordered for three months. When I finally got the email that my couch was on the way, I decided to start sourcing art for my gallery wall. I feel like gallery walls always make a statement in any home; it also shows who you are and what you love. After doing some research, I found some amazing prints on Etsy.
Building a Gallery Wall can be complicated if you don’t know where to start. I’m going to list the steps I took to create my wall in one day! The wall did take about a few hours to create, so I would suggest picking a Sunday, throwing on some music, and vibing out. Here is my step-by-step process of building a dope gallery wall for your space.
Materials:
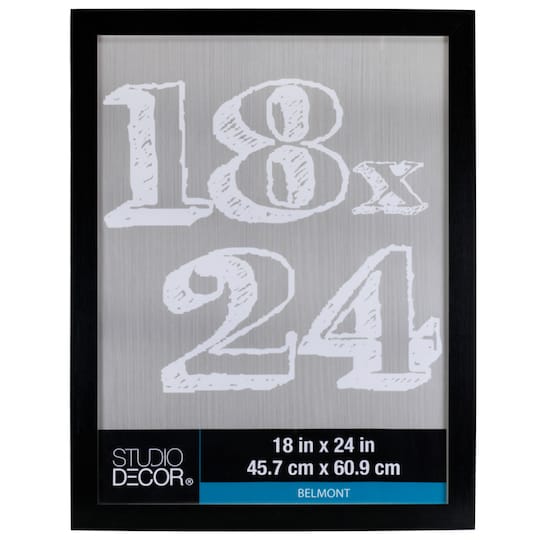
Frames – I purchased my frames from Michaels. Check every week to see if they have a sale. The week I went, the deal was buy one get two free! What a steal!
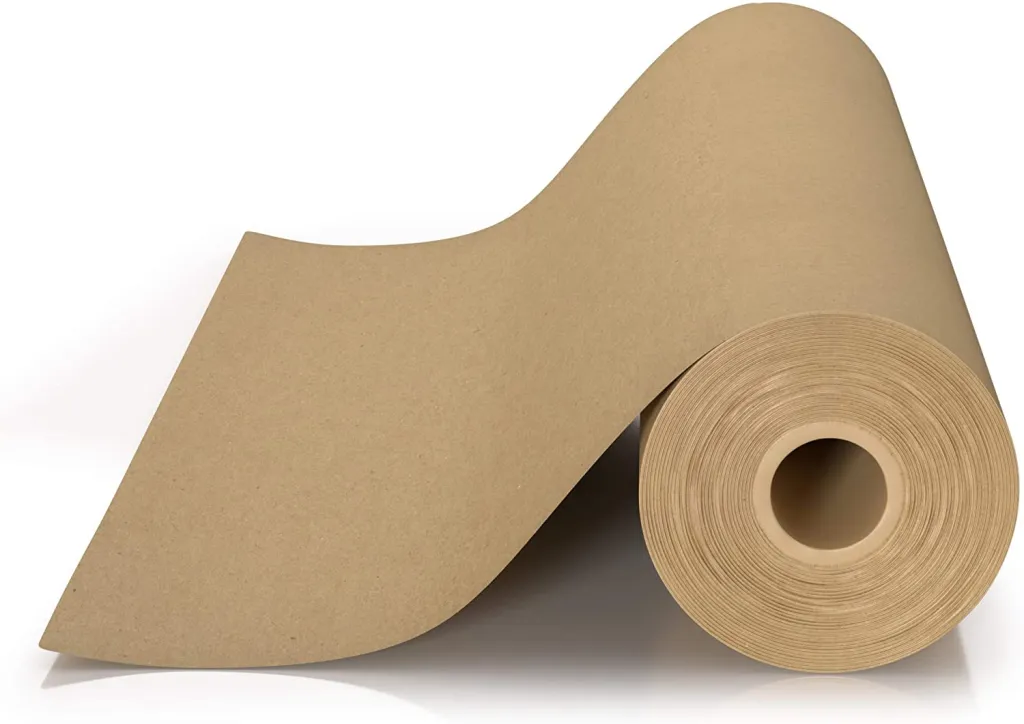
Kraft Paper Roll – Use the Kraft paper to trace your frames
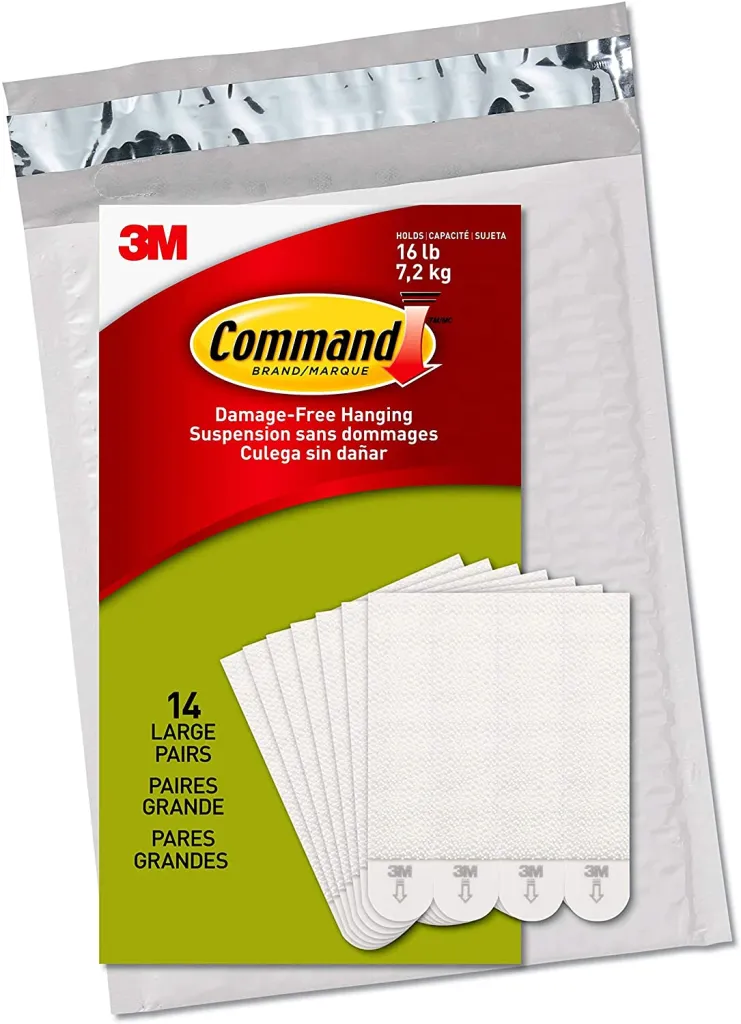
Picture Hanging Command Strip – Place 2-4 strips on the back of each frame, depending on the size and weight.
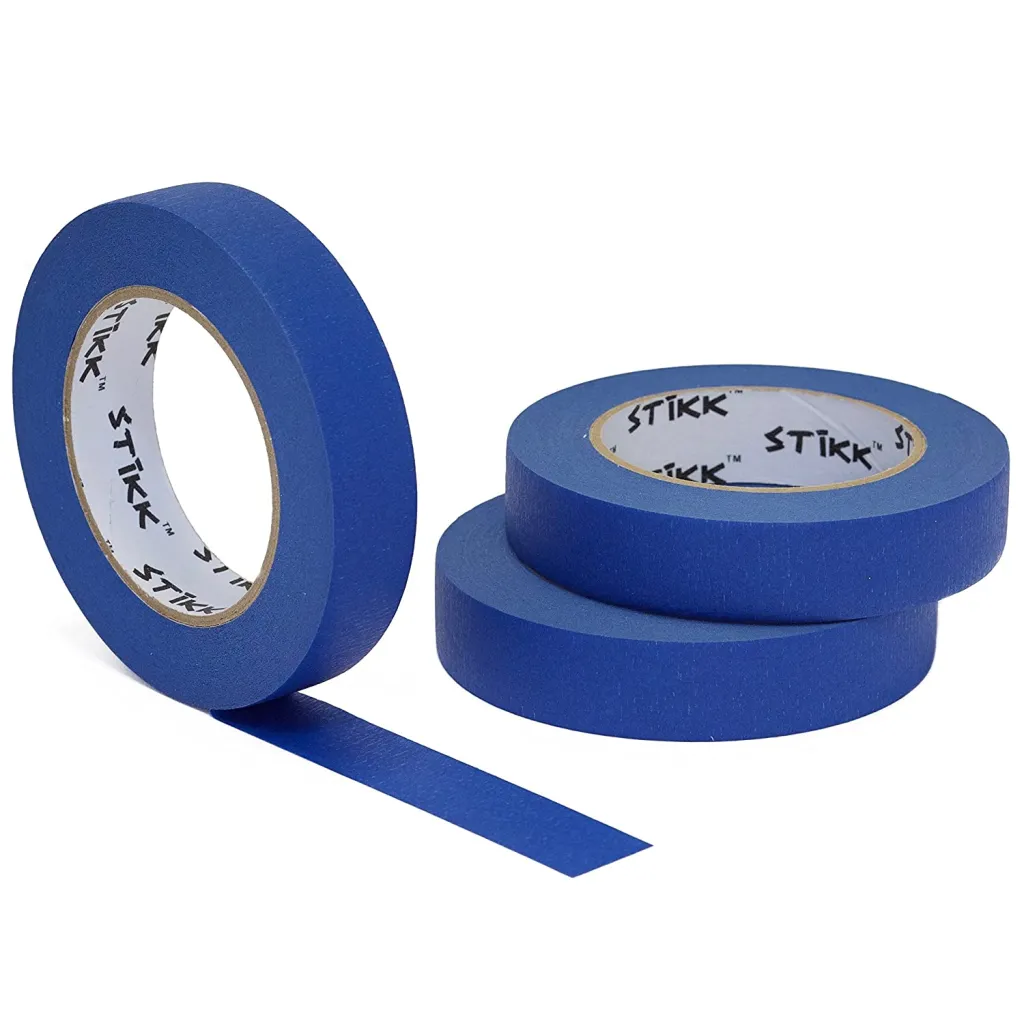
Painter’s Tape – Use the painter’s tape to measure out the area and to tape down your Kraft paper frames.
Step 1:
Plan and decide your gallery wall’s theme and think of the message you want to convey. Do you want to have a fashion vibe, nature, historical, or even cultural? Take the time to set your end goal and do what fits your the vibe of your home. I wanted to convey my African American culture.
Pick your images and print them at your local print shop. I usually go to Walmart to get my images printed because they have the best rates. Print your images as posters if the size is over 8×10.
Pro Tip: Search on Pinterest the keyword – Gallery Wall and the number of prints you want on your wall. (Ex. Gallery Wall 9 prints). Download the image a place in CanvaPro, add in your digital prints, and move them around to see how you would like to arrange your wall. Here is my example below.
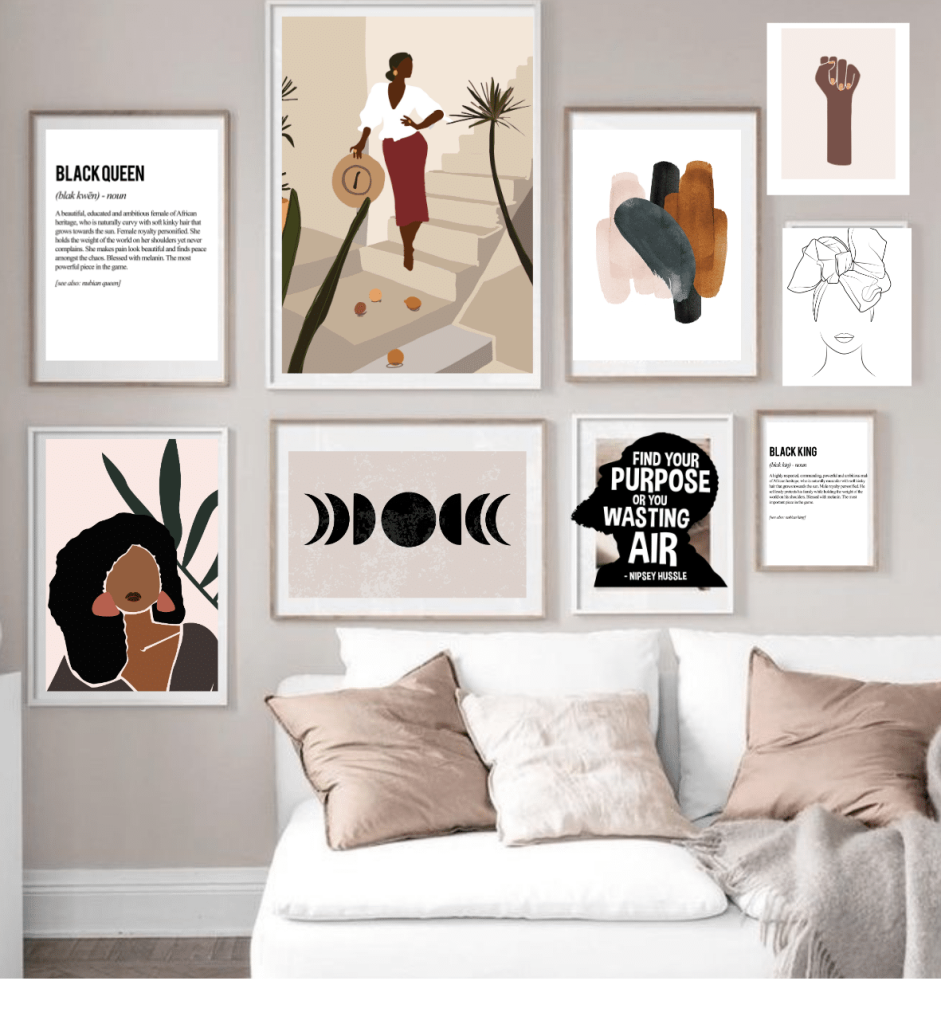
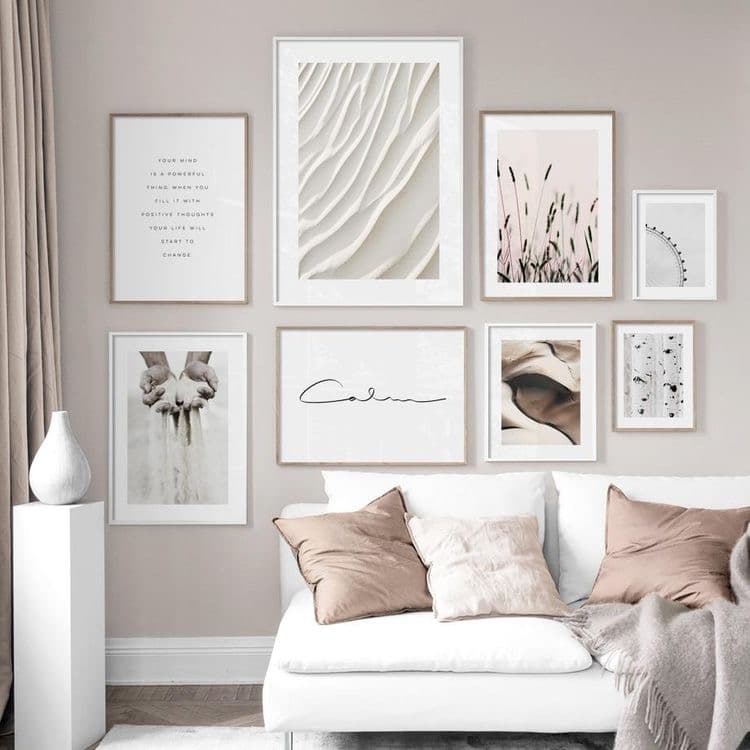
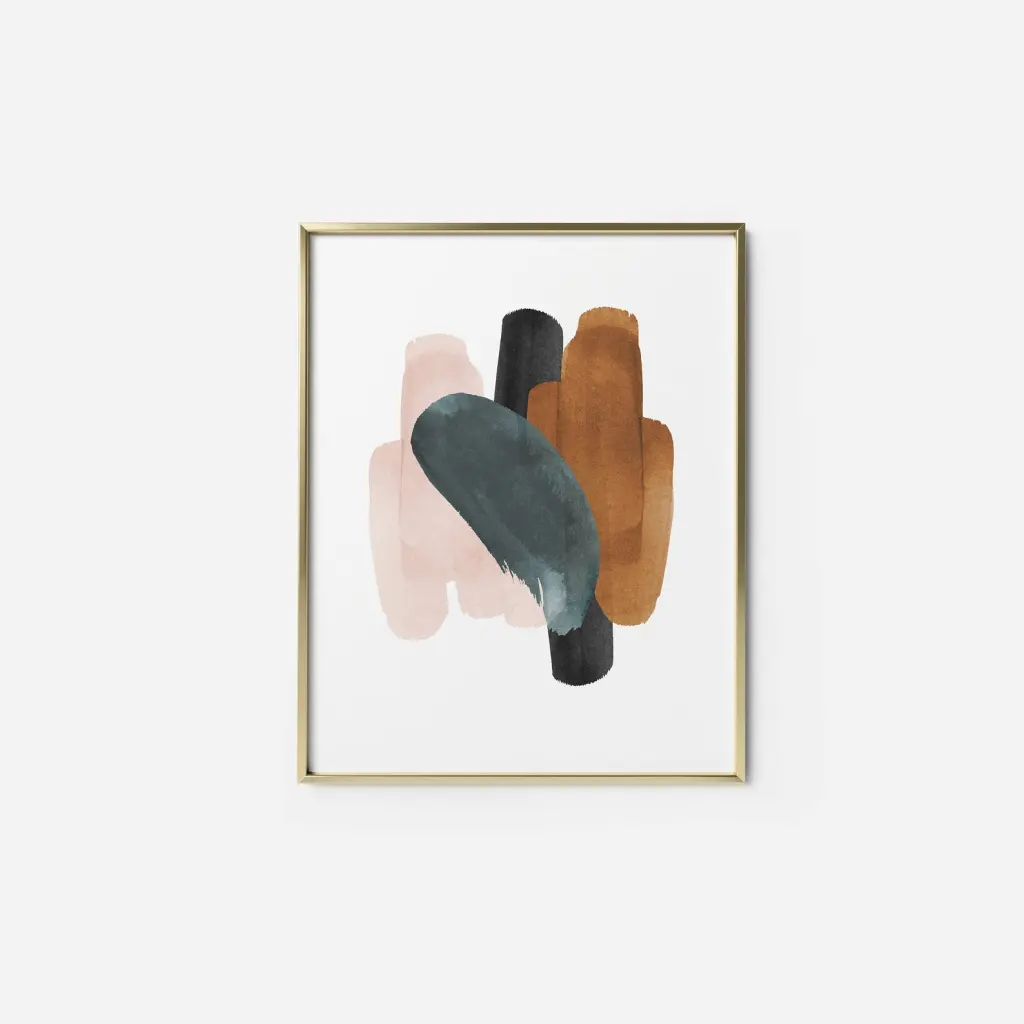
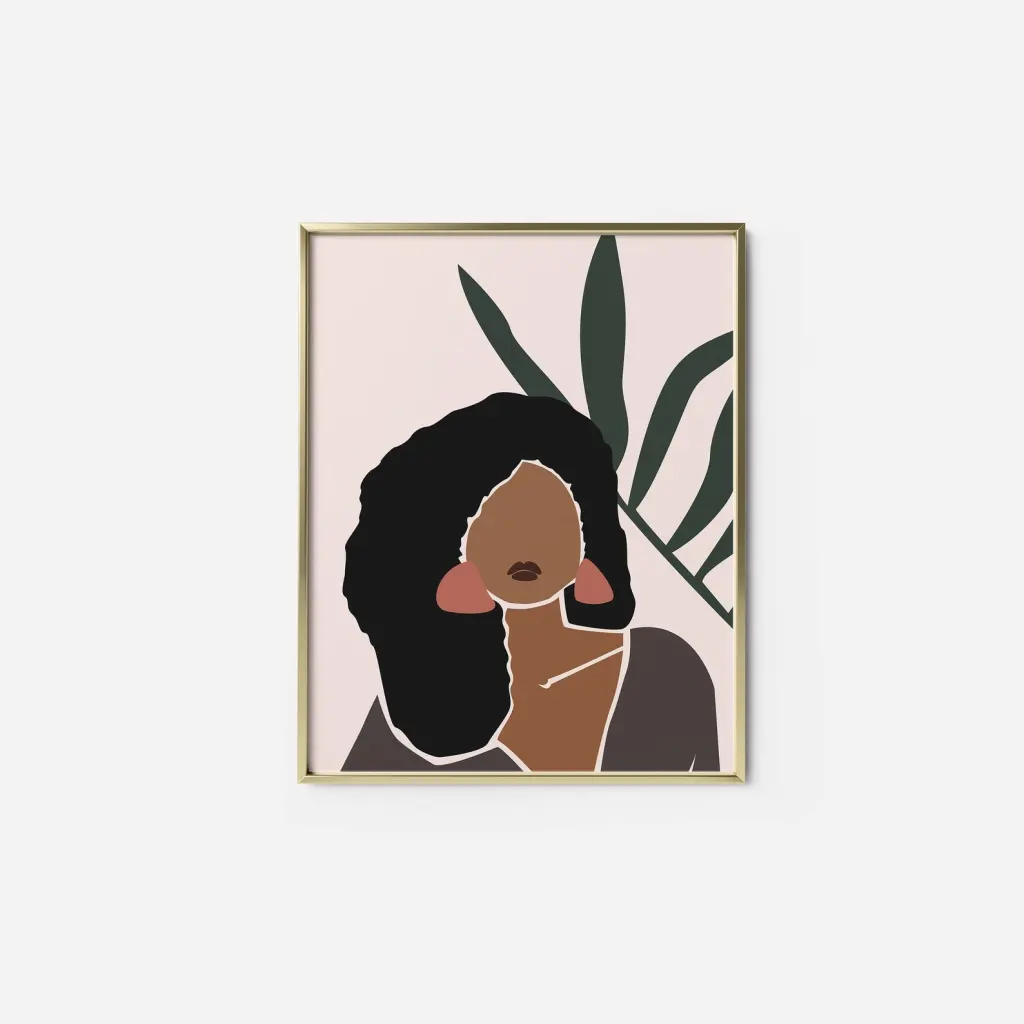
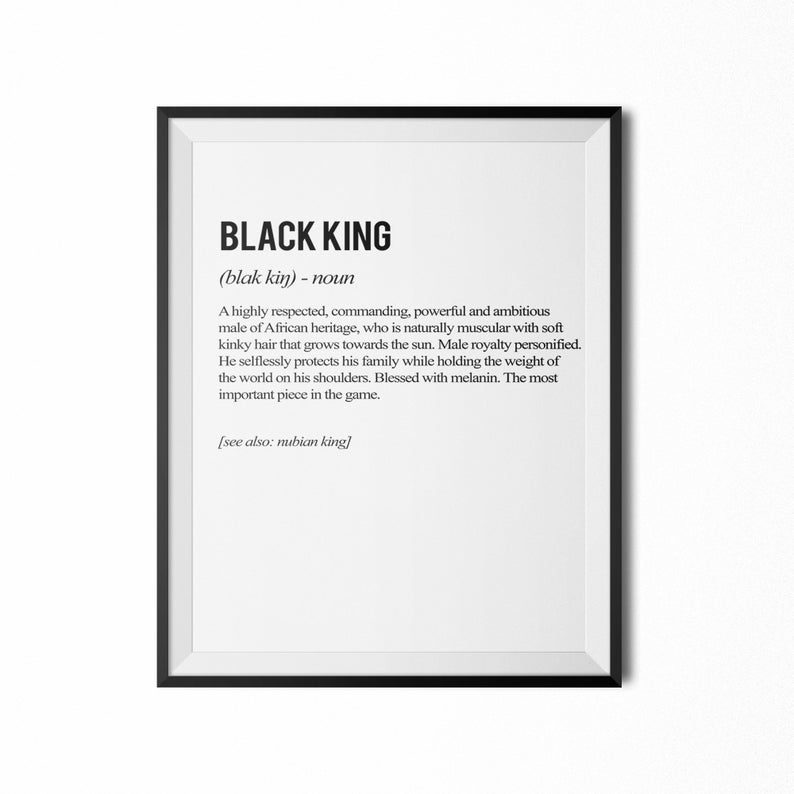
Print Source: Etsy – Click the image and the link will take you to the Etsy shop!
Step 2:
Layout your frames on the floor to see the layout in real-time. Make sure it looks similar to your inspiration. Remember, it doesn’t have to be perfect. The inspiration image is just a guideline. If you need to move or add anything, this is the time so you can see the outcome before you start framing.
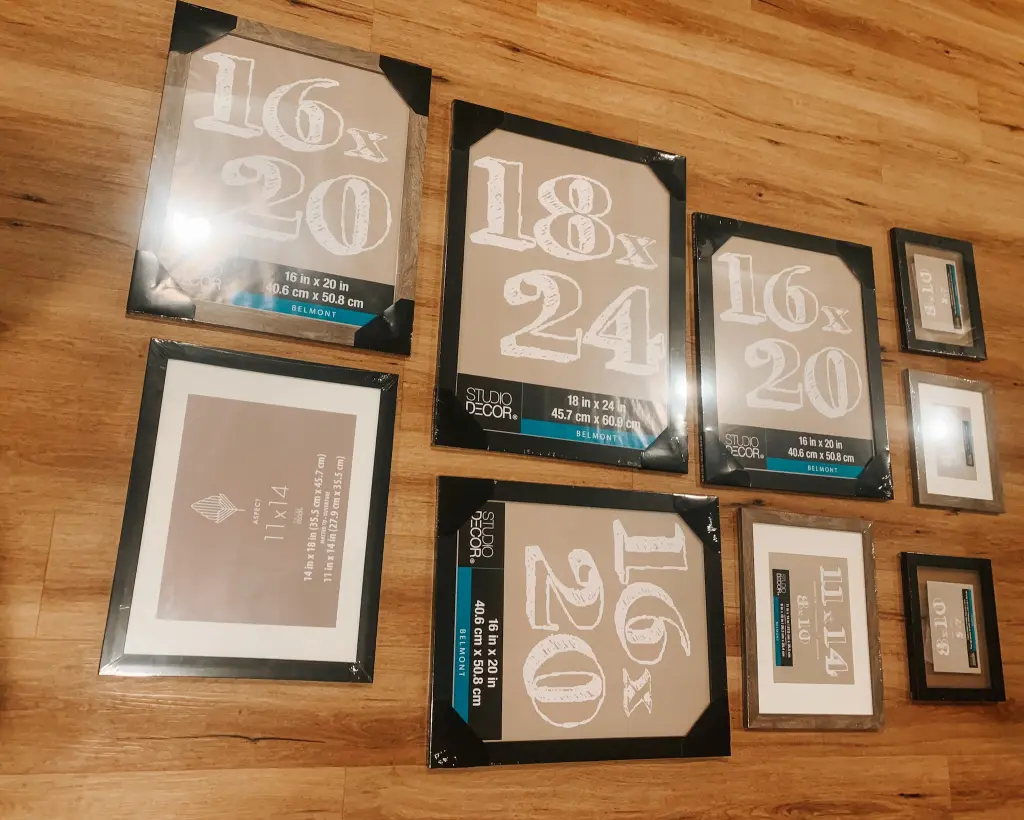
Step 3:
Use painter’s tape to tape out the area for the layout on your wall. Again, this doesn’t have to be perfect; it’s just a guideline. My couch is pretty big, so I wanted to center my images to place plants and other accents around it.
Sidebar: Couch is from Living Spaces – Delano Pearl in the color Bravado Ash – (click here for details)
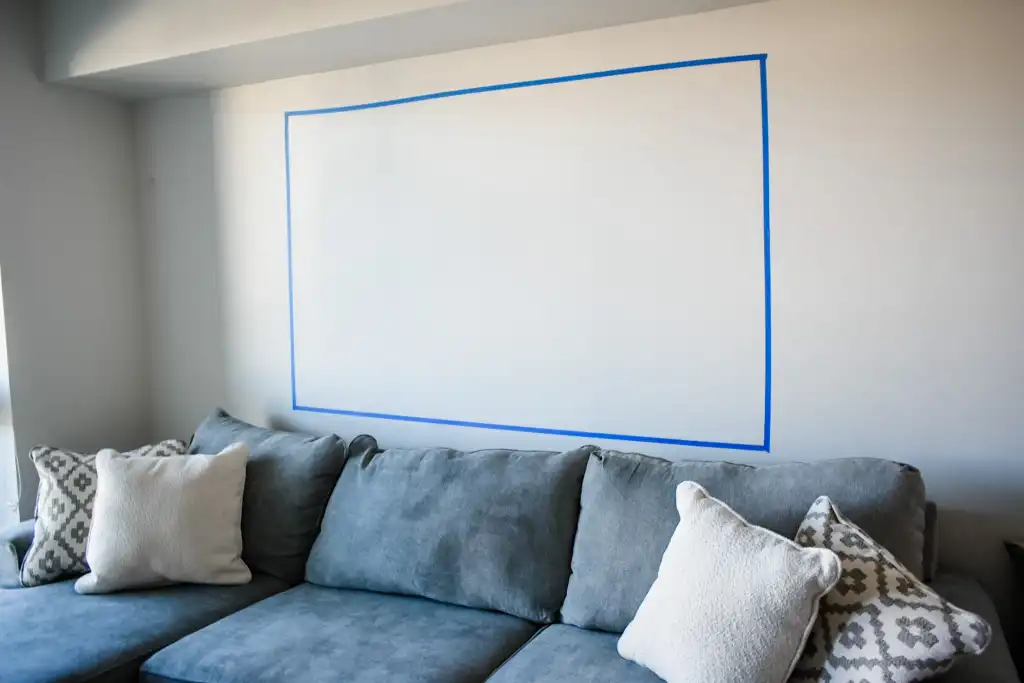
Step 4:
Trace your frames with Kraft paper and place them on the wall with painter’s tape in the layout you designed on the floor.
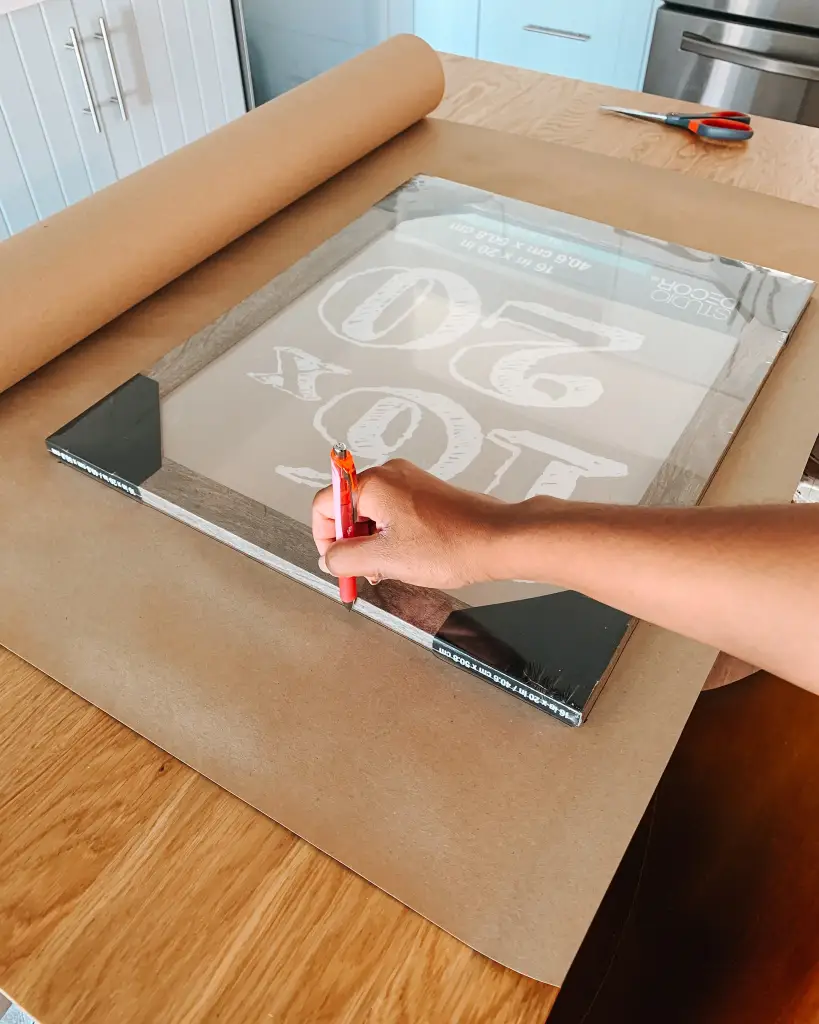
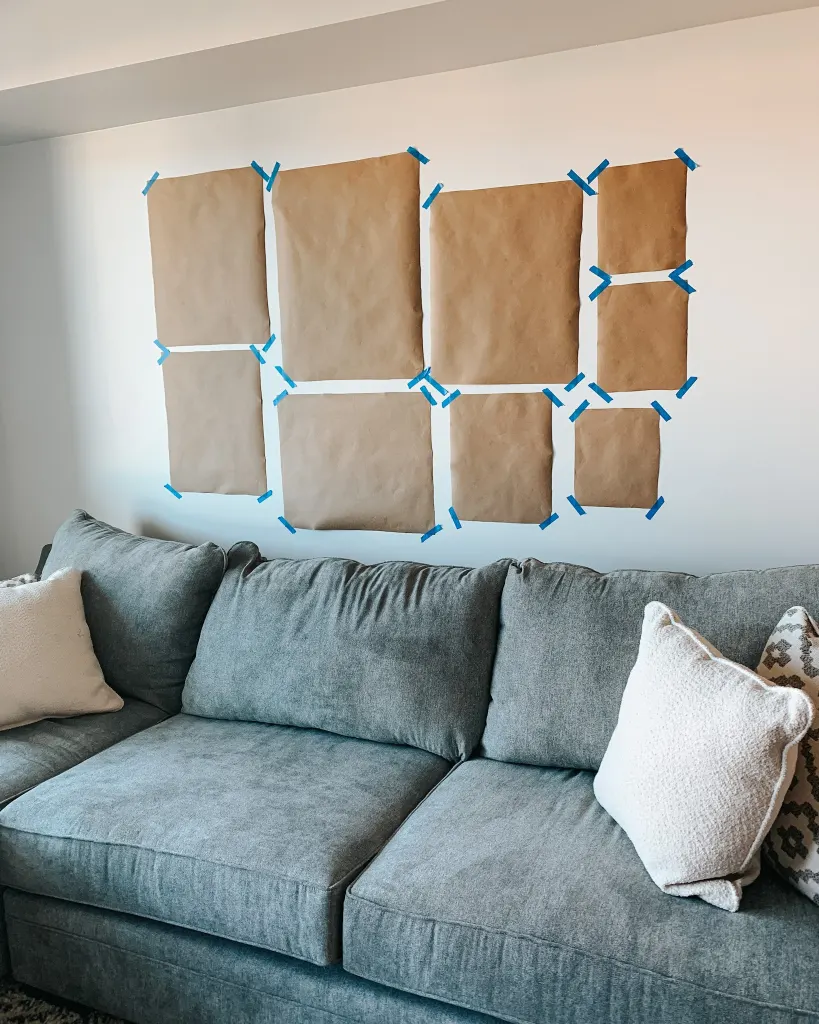
Step 5:
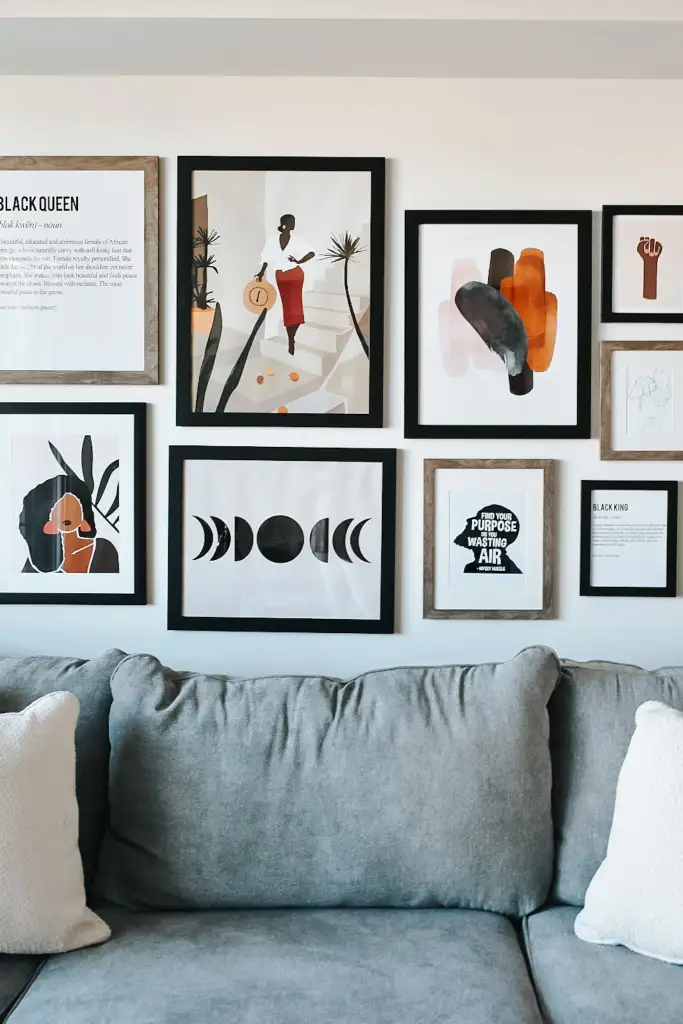
Frame your artwork and place them in the designated areas of your design with the command strips! Boom! You’ve created your dope gallery wall just like that!
Send me your gallery wall creations! I would love to see them – deandra@deandrajalisa.com.
